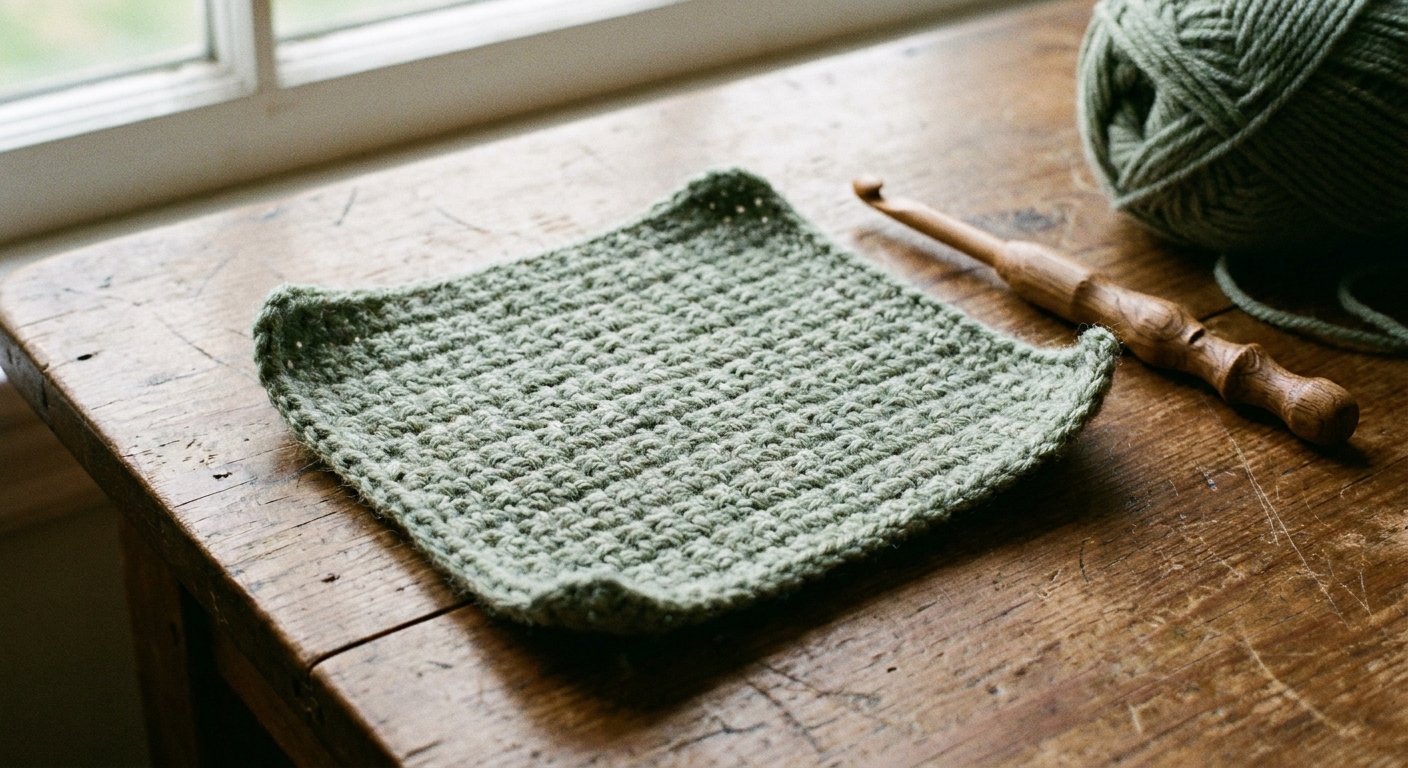
A flat crochet piece curling or waving is usually a tension or stitch count issue. Work through these 5 common causes in order and fix the roll fast.
Small paws. Big project plans.
If you can make a chain and a single crochet, you can make a scarf you will actually finish. This one is worked flat, back and forth in rows, using worsted-weight yarn and a matching hook. No shaping, no fancy stitches, just steady single crochet that builds a warm, classic scarf.
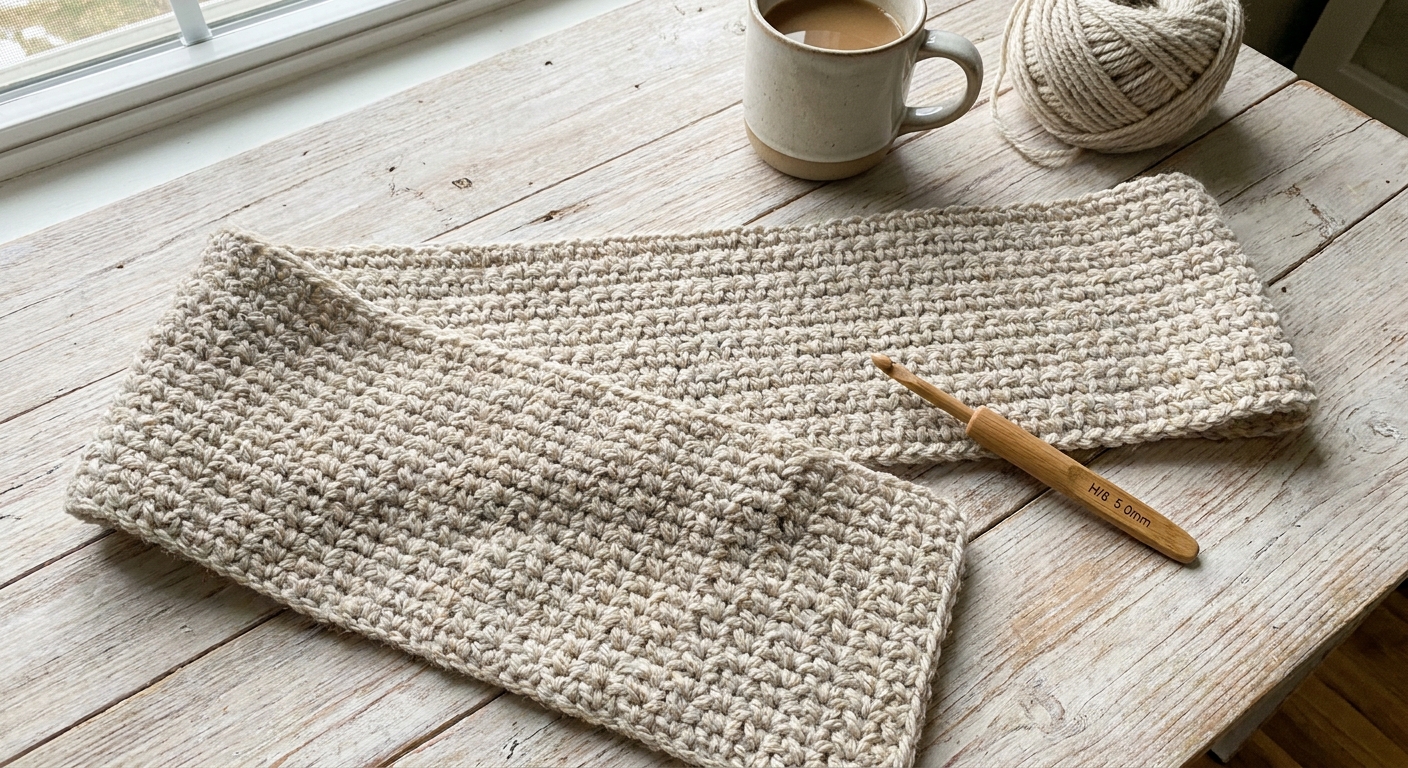
What you need
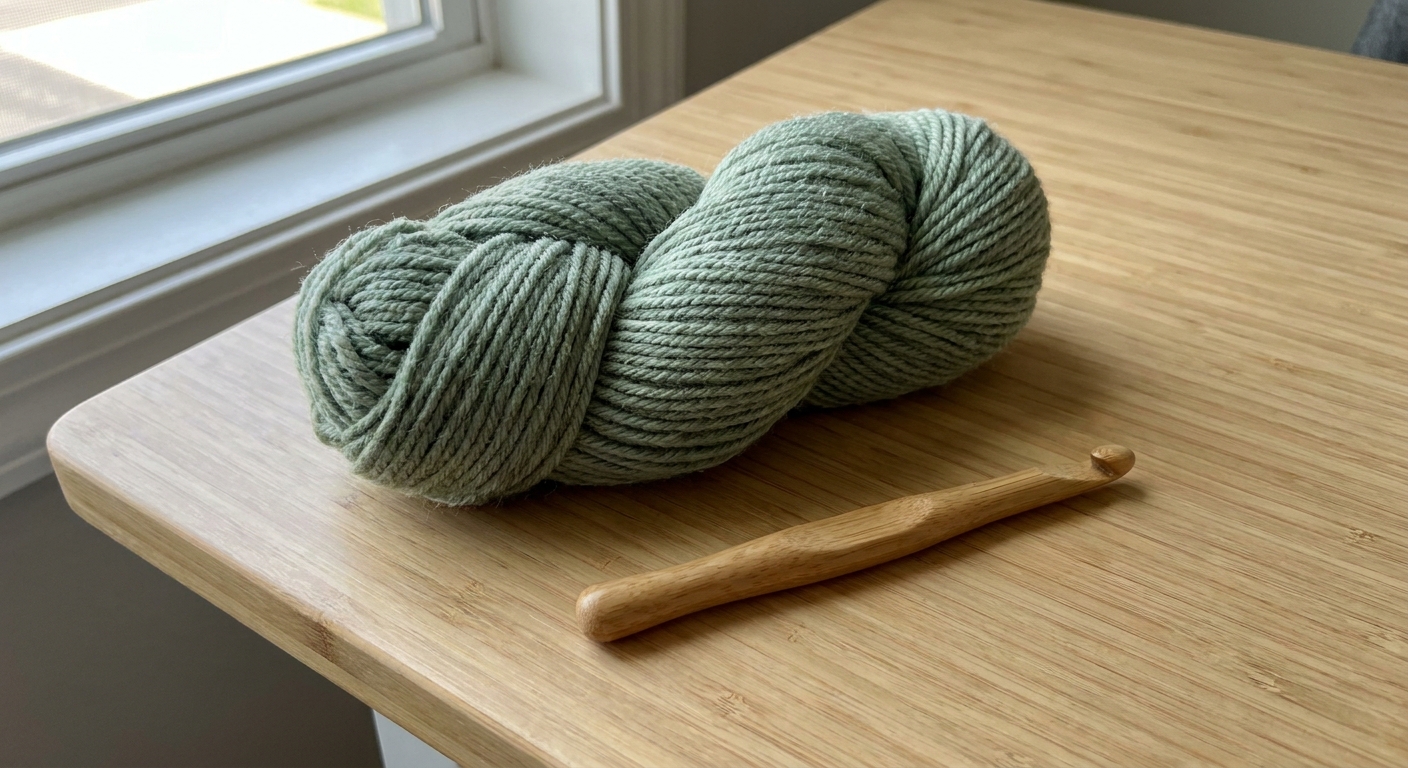
- Worsted-weight yarn (#4): 1 to 2 skeins depending on scarf length and yardage (check your label). For a typical adult scarf, plan on roughly 300 to 500 yards, but your exact total will vary with width, length, and how tightly you crochet. A smooth, light-colored yarn is easiest for beginners because you can see your stitches.
- Hook that matches your yarn label: typically 5.0 to 5.5 mm for worsted weight. Your label is the boss here.
- Scissors
- Tapestry needle (blunt tip) for weaving in ends
- Optional: 2 stitch markers (or safety pins, or little scrap loops of yarn)
Quick scarf plan
- Stitch: single crochet (sc)
- Construction: rows, turned each row
- Adult width: about 7 to 8 inches (give or take)
- Finished length: about 60 to 70 inches for a classic wrap-and-drape scarf
Starting chain (estimate for adult width): chain 31. That gives you 30 single crochets across in Row 1, which often lands in the 7 to 8 inch range with worsted yarn and a 5.0 to 5.5 mm hook. But crochet tension is personal, so treat this as a strong starting point, not a promise.
Quick fit check: After you crochet 2 to 3 rows, lay your work flat and measure the width. Want it narrower or wider? Frog back and adjust the starting chain. For single crochet, you can add or subtract chains by 1 at a time until it hits your preferred width.
If you want yours narrower, chain 25 (24 stitches across). If you want it wider, chain 35 (34 stitches across). Keep it simple: more chains equals more width.
Stitches you will use
Chain (ch)
The foundation loops you start with.
Single crochet (sc)
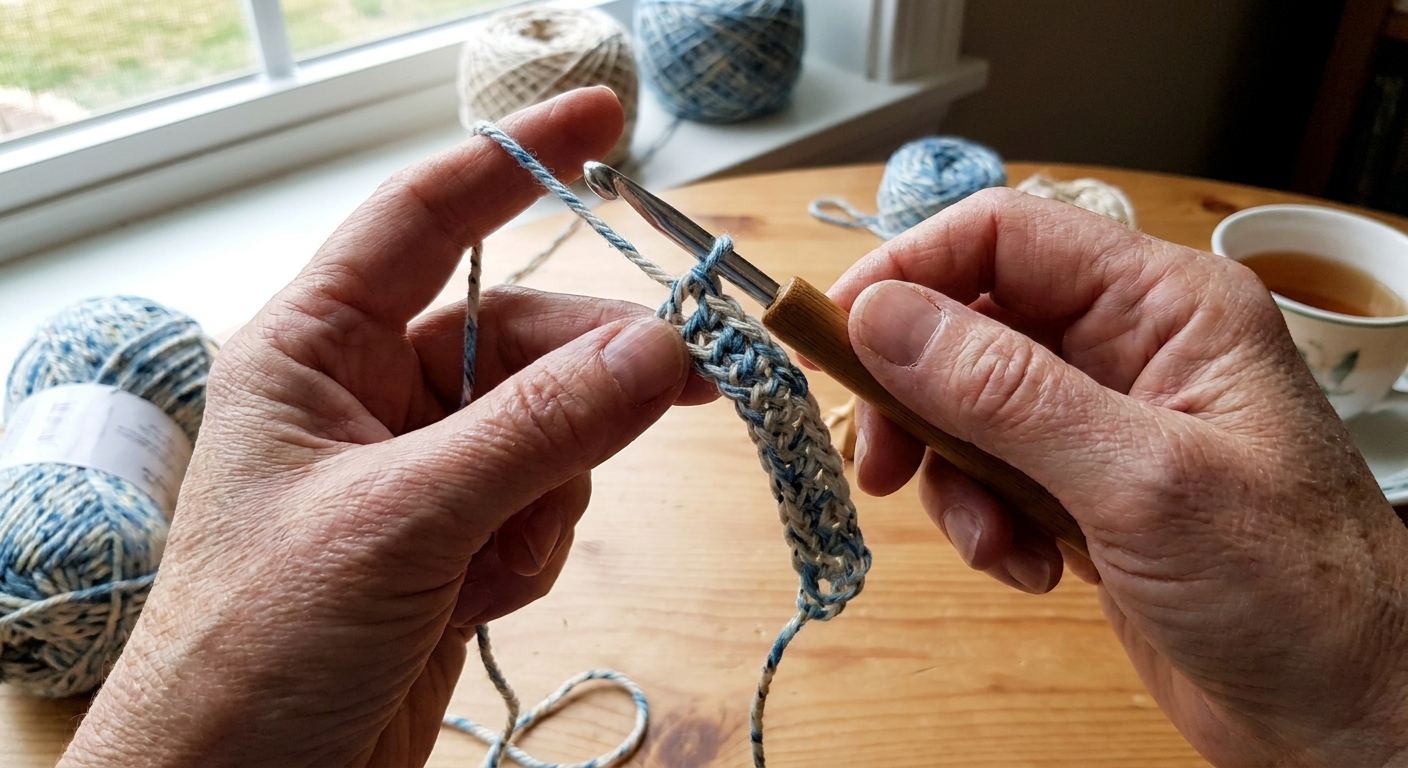
Insert hook, yarn over, pull up a loop (2 loops on hook), yarn over, pull through both loops.
Turning chain
At the end of each row you will chain 1, then turn your work. For this scarf, the chain 1 does not count as a stitch. Your row stitches are the single crochets only.
Note: Work your single crochets under both loops of the stitch for the classic, sturdy scarf fabric.
How to crochet the scarf
Foundation chain
Chain 31.
Try to keep your chains relaxed. If you tend to chain tight, go up one hook size just for the chain, then switch back for Row 1.
Row 1
Single crochet in the 2nd chain from the hook, then single crochet in each chain across.
You should have 30 single crochets at the end of Row 1.
Straight sides
The most common beginner scarf problem is wiggly edges from accidentally adding or skipping stitches at the ends. Here is the simple routine that keeps your sides neat.
Row 2 and beyond
- Ch 1, turn.
- First stitch: Make the first single crochet into the first sc of the previous row (the stitch right next to your hook, not the chain-1).
- Single crochet across to the last stitch.
- Last stitch: Put your final single crochet into the last sc of the previous row. This last stitch can be sneaky, so pause and find it before you crochet.
Counting check: At the end of each row, count your stitches. You want 30 sc every time (or whatever number you chose). If you end up with 29 or 31, rip back that row right away. It is much kinder than discovering the problem 20 rows later.
Two stitch-marker tricks
- Edge markers: Place a marker in the first stitch and last stitch of a row. When you come back on the next row, you will know exactly where the edge stitches are.
- Every-10 counting: If counting 30 feels fussy, place a marker every 10 stitches across. Then you only need to count to 10 three times.
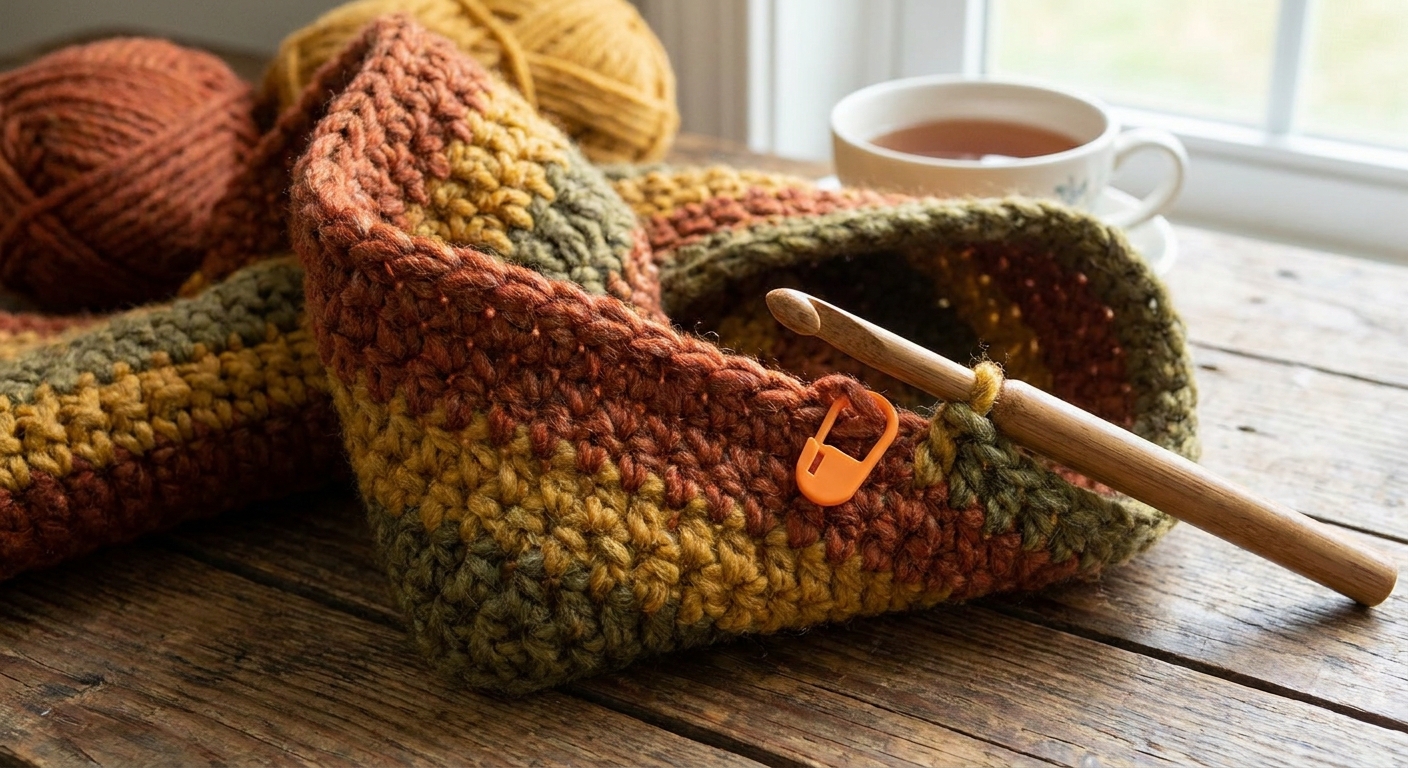
Length check
Keep crocheting rows until your scarf is about 60 to 70 inches long.
- 60 inches: a tidy classic scarf length, easy to wear without a lot of bulk
- 70 inches: extra cozy with more wrap-around and drape
No measuring tape? Fold the scarf in half and hold it up. On many adults, a classic scarf falls somewhere between mid-thigh and knee when folded, but the easiest test is to drape it on the person who will wear it and see what feels right.
And yes, this is the point where your scarf usually becomes couch-approved cozy. Small paws optional.
Fasten off
When you love the length:
- Crochet your final row.
- Ch 1 to secure, then pull up the loop a couple inches so it cannot slip back.
- Cut yarn, leaving a 6 to 8 inch tail.
- Pull the tail through the loop and snug it down.
Weave in ends
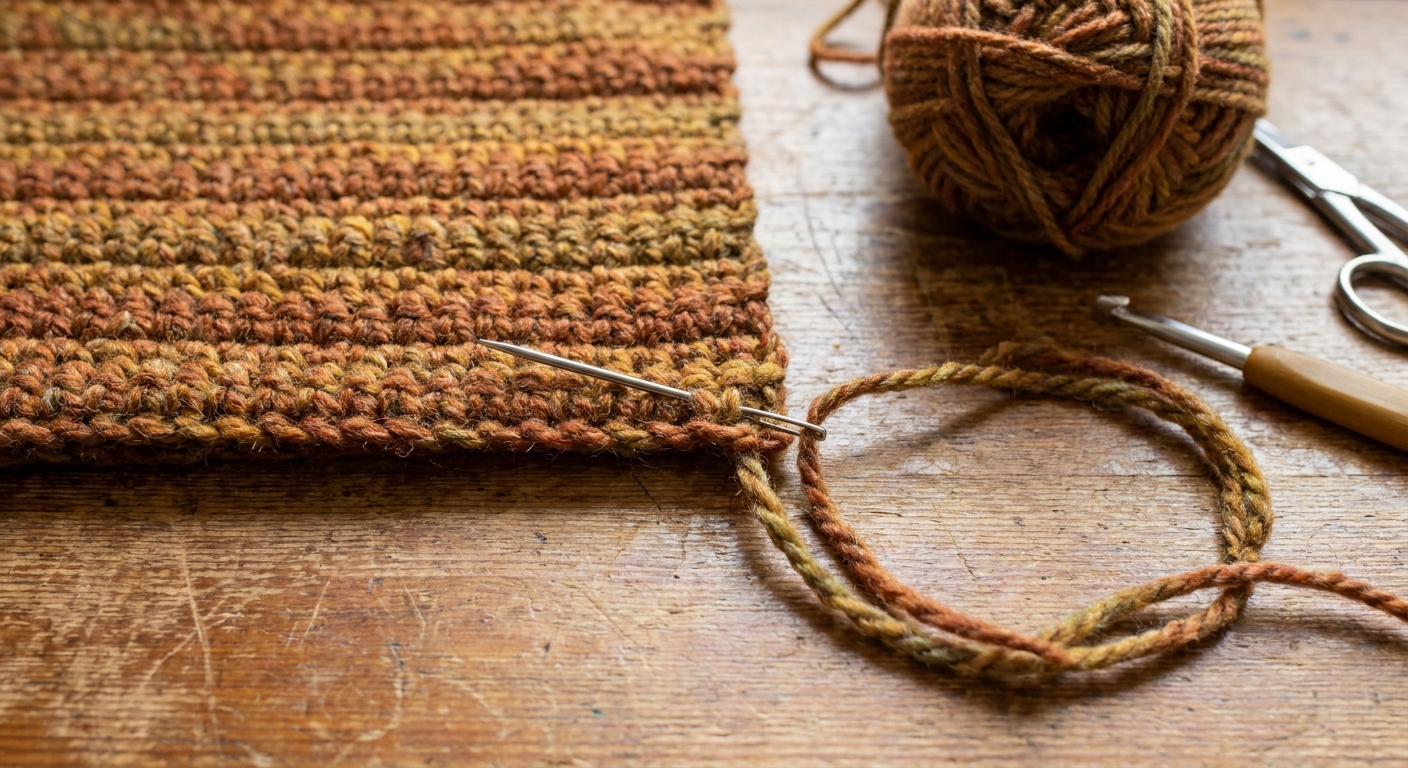
You will have two yarn tails: one at the beginning edge and one at the end edge. Weaving them in neatly keeps the scarf comfy and wearable right away.
Tail 1: the finishing tail
- Thread the tail onto a tapestry needle.
- On the wrong side of the scarf, weave the needle through the backs of several stitches along the edge, following the path of the yarn so it disappears.
- Change direction once and weave back through a few stitches. This helps lock it in place.
- Trim close to the fabric (not so close that it pops out).
Tail 2: the starting tail
Repeat the same steps on the other end. If your starting tail is short, weave it through fewer stitches, change direction once, and trim carefully.
Optional polish
Block for drape
If your scarf wants to curl a little or looks slightly rippled, gentle blocking helps. Use a method that matches your fiber and always check your yarn label first. For many fibers, lightly mist it with water, pat it into shape on a towel, and let it dry flat.
Add fringe
If you want a classic look, add fringe to one or both ends. Cut yarn strands about 10 to 12 inches long, fold in half, and use your hook to pull the folded loop through an end stitch, then pull the tails through the loop to secure.
Troubleshooting
My edges are getting wider or narrower
This is almost always an end-stitch issue. Count stitches every row. Also make sure your first sc goes into the first sc of the previous row, and your last sc goes into the last sc of the previous row.
My foundation chain is tighter than my scarf
Next time, chain with a larger hook. The fastest fix is using a looser chain from the start.
My scarf fabric feels stiff
Try a larger hook size, or choose a yarn with more drape. Single crochet is naturally dense, which is part of why it is warm.
Pattern recap
- Ch 31 (adjust for width as needed).
- Row 1: Sc in 2nd ch from hook and in each ch across (30 sc). Ch 1, turn.
- Rows 2 onward: Sc in each st across (30 sc). Ch 1, turn.
- Repeat until scarf measures 60 to 70 inches (or your preferred length).
- Fasten off and weave in both ends.
That is it. A cozy, classic single-crochet scarf, ready to wrap up and head out the door.