A friendly, step-by-step first scarf: medium yarn, matching needles, long-tail cast-on, knit every row, dropped-stitch rescue, and a simple bind-off with a w...
Small paws. Big project plans.
If you spot a loose loop sitting below your needle line, take a breath. A dropped stitch looks dramatic because it can run, but it is one of the most fixable knitting problems once you know the two moves: stop the run, then climb it back up.
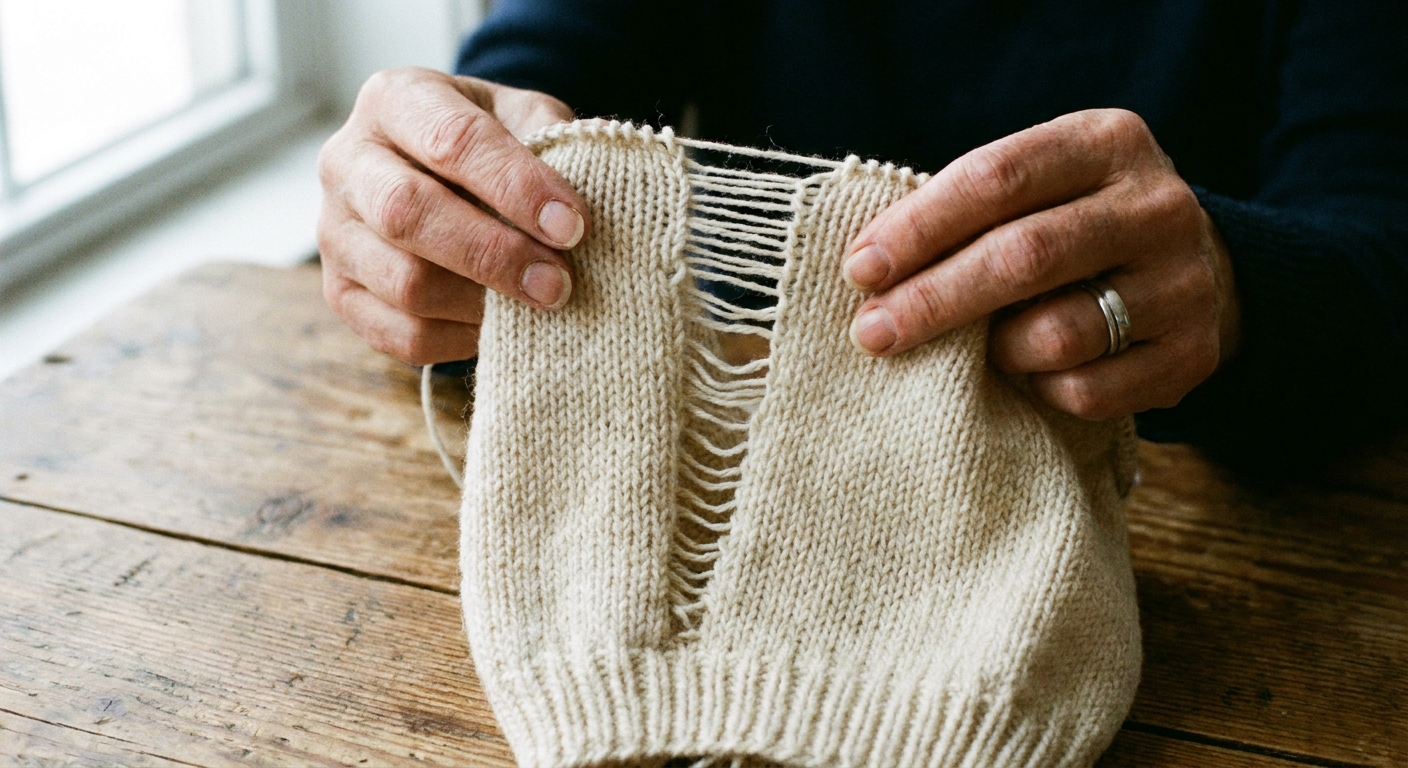
First: stop the run
A dropped stitch becomes a run when the stitch slips down through the rows beneath it. The longer it runs, the more yarn strands (the ladder) you will have to work with. Your job right now is to keep it from falling further.
Quick ways to secure it
- Locking stitch marker: If the dropped stitch is still a single loop and it has not started racing downward, clip a locking marker through that loop and let it hang. This is perfect if you just need to pause and fix it later.
- Safety pin or scrap yarn: Same idea. Anything that holds the loop so it cannot slip through more rows.
- Crochet hook parked in the loop: Slide a small crochet hook through the dropped loop and keep it there until you are ready to ladder up.
Tip: If your stitch already ran down several rows, still clip it. You are pinning the lowest live loop so it cannot keep unraveling.
What you need
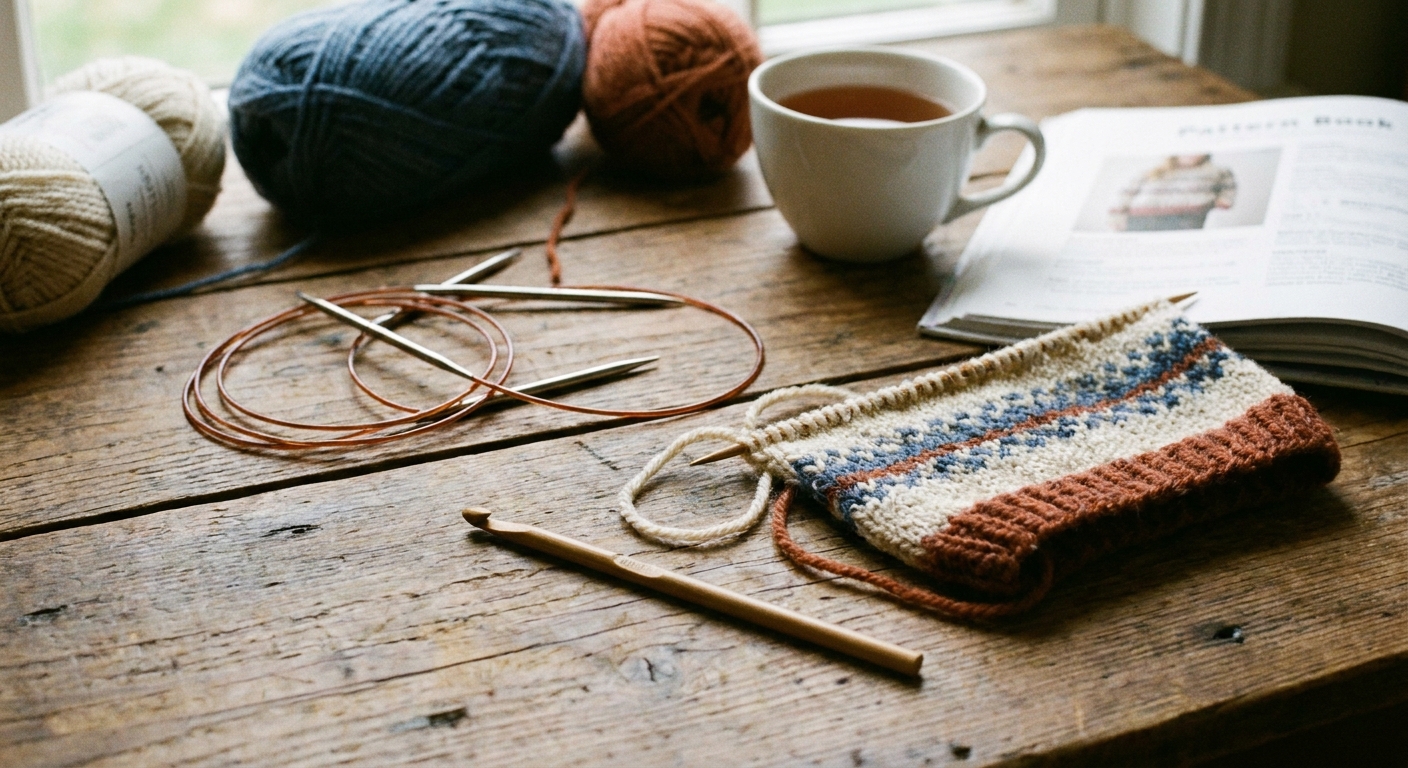
- A crochet hook close to your needle size. If you do not have one, a smaller one can still work, it just takes a little more patience.
- Good light so you can see the ladder strands clearly.
- Optional: a second locking marker to hold the loop while you reposition your hands.
What stitch did you drop?
Before you rebuild anything, check what the fabric is doing in that column. You are not changing the stitch that dropped. You are rebuilding it to match the fabric so it blends in.
- Stockinette: smooth V’s on the front, bumpy purls on the back. If you are looking at the smooth side, most stitches you fix will be knit stitches.
- Garter: bumpy ridges on both sides. Depending on where you are in the pattern, you might be rebuilding knit stitches on every row (because garter is often “knit every row”), but the side you are working from still matters.
- Ribbing: columns of knit V’s and purl bumps side by side. Look at the columns right next to the ladder. If that column is V’s on the side facing you, rebuild knits. If that column is bumps on the side facing you, rebuild purls.
Extra clue: On the side you are looking at, the horizontal running strand for a knit stitch tends to sit behind the loop you are rebuilding. For a purl stitch, that running strand tends to sit in front. If you are not sure, rebuild one rung and compare it to the column next door.
Ladder up a knit stitch
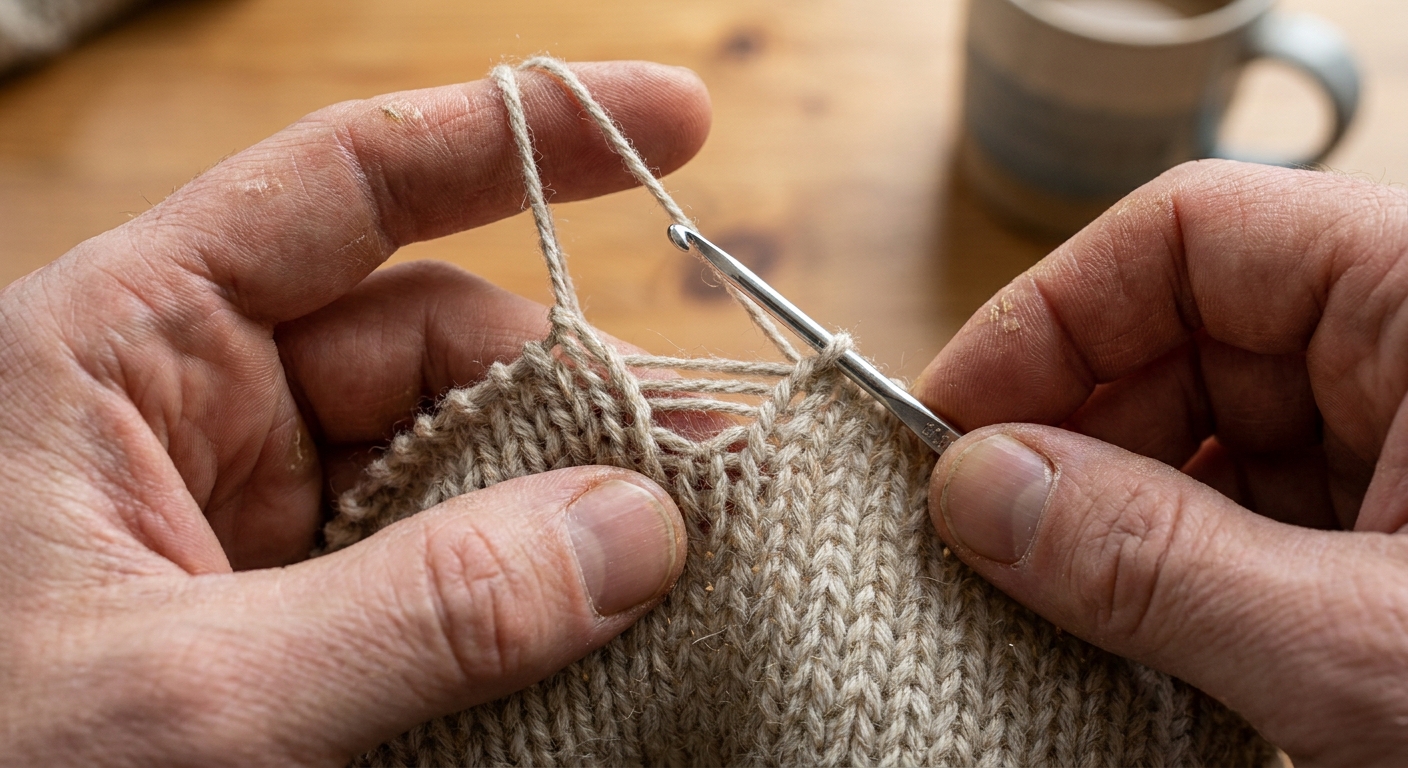
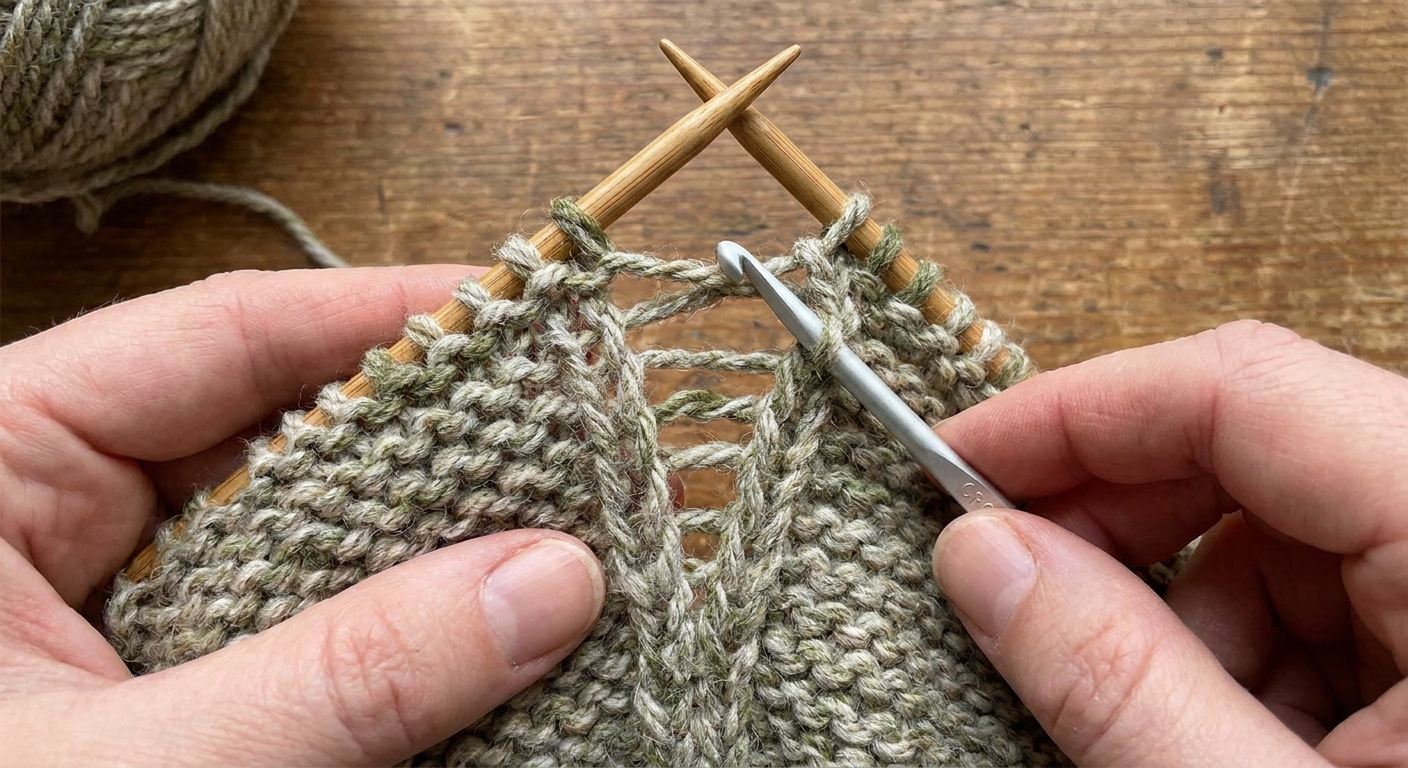
This is the classic fix. You are going to use the ladder strands one at a time to remake each row of that stitch column.
Step by step
- Find the dropped loop. It will be sitting at the bottom of a vertical ladder of loose strands.
- Insert your crochet hook through the dropped loop from front to back (from the side facing you toward the back of the fabric). Keep the hook tip pointing up so it does not snag fibers.
- Grab the lowest ladder strand (the strand closest to the dropped loop) with the hook.
- Pull that strand through the loop on your hook. Congratulations, you just made one knit stitch.
- Repeat with the next ladder strand up, pulling each strand through the loop to climb row by row.
- When you reach the top, place the rebuilt stitch back onto your needle (left or right, whichever makes sense for where you are). Give it a tiny snug so it matches its neighbors, then keep knitting.
Mount check
When you put the stitch back on the needle, you want a standard mount. The right leg (the leading leg) should sit in front of the needle, like the stitches around it. If it looks crossed compared to its neighbors, flip it before you knit it.
Ladder up a purl stitch
Purls are the same idea, but the direction matters. These directions assume you are looking at the side where you want the purl bump to appear. If you are on the other side of the fabric, flip your work so you are looking at the side you care about, then repair.
Method: loop over strand
- With the fabric facing you, put the crochet hook through the dropped loop from back to front (poke from the far side toward you).
- Bring the next ladder strand in front of the loop. It should be between you and the fabric.
- Pull the dropped loop over the ladder strand and off the hook. That strand becomes the new loop, and the purl bump will sit on the side facing you.
- Repeat one ladder strand at a time until you reach the needle line.
- Place the stitch back on your needle in a standard mount (right leg in front). Give it a gentle snug so the column does not look baggy.
Little mouse-sized sanity check: After you fix one or two rows, compare the repaired column to the column next to it. If your repaired column looks like V’s when everything else is bumps (or vice versa), undo back down a row or two and redo in the other direction.
If it ran deep
When a stitch runs far, you will see a long ladder. This is still fixable, but go slowly so you do not split the yarn or accidentally snag a neighboring stitch.
Do this first
- Secure the bottom loop with a locking marker so it cannot run further while you adjust your grip.
- Smooth the fabric flat on a table or your lap so you can clearly see each ladder strand.
- Check for yarn overs or decreases nearby. If your pattern has lace, eyelets, or frequent increases and decreases, the ladder strands might not be perfectly vertical. Read the fabric carefully before pulling anything through.
One rung per row
Use the knit or purl laddering method above. Work one ladder strand per row. If you jump rungs, you will change the row count and the fabric will pucker.
If the ladder is tight
Sometimes, after a run, the ladder strands look short and the repaired column ends up tight. After you rebuild the stitch, gently tug the surrounding fabric horizontally to help distribute slack across nearby stitches. If it still looks noticeably tight, ripping back a few rows can be the cleaner fix.
Yarn that fights you
Slippery yarns (silk, superwash) love to keep running, so clip that loop the second you see it. Fuzzy yarns (mohair blends) can hide the ladder strands. Use brighter light, a slightly smaller hook, and extra patience so you do not accidentally grab fuzz instead of the correct rung.
Marker or rip back?
A locking marker is enough when
- The stitch is dropped but has not run (it is just one loose loop).
- You are in the middle of a row and want to finish the row first, then repair in good light.
- The stitch ran down a few rows in plain stockinette or garter and you are comfortable laddering up.
Consider ripping back when
- The dropped stitch is part of a cable crossing and you do not feel like reconstructing cable order.
- You are working lace or anything with intentional yarn overs and multiple decreases, and the run cuts through that structure.
- You dropped a stitch and also notice extra stitches or missing stitches elsewhere on the needle, which can mean the problem is bigger than one ladder.
- The laddered fix would land right at a tricky transition like changing stitch patterns (for example, ribbing into stockinette) and the column would be hard to match neatly.
If you do rip back, you can still use a safety line trick: run a smooth scrap yarn through a full row of stitches before you unravel, so you can return to that row without losing live stitches.
Repair trouble
The dropped loop disappeared
Look straight down the column. The live loop is usually caught on a horizontal strand or hiding behind the work. Check the back side of the fabric too. Once you find it, secure it with a marker immediately.
I grabbed two ladder strands
Undo just that last step by pulling the new loop back out (gently) until you return to the previous loop. Then continue one strand at a time.
The stitch looks twisted
Take the stitch off the needle and put it back on in the correct mount (right leg in front), then knit or purl it normally on the next pass. If you notice the twist several rows later, you can also drop just that column again down to the twist and ladder it back correctly.
The column looks loose
That happens. Use a tapestry needle to lightly redistribute slack: nudge a tiny bit of extra yarn into neighboring stitches rather than trying to tighten one stitch aggressively.
Mini cheat sheet
- Stop the run: clip the loop with a locking marker.
- Knit stitch ladder up: hook through loop front to back, pull each ladder strand through.
- Purl stitch ladder up: look at the side you want the bump to show on, then hook back to front and pull the loop over each ladder strand.
- Deep run: one rung per row, slow and steady.
- Rip back: best for cables, lace, or pattern-heavy areas.
FAQ
Can I fix a dropped stitch without a crochet hook?
Yes. A small latch hook, a hairpin, or even the tip of a spare needle can work. A crochet hook is just the easiest tool for grabbing ladder strands cleanly.
Should I fix it right away or later?
If it is actively running, secure it right away with a locking marker. Then you can decide whether to fix it immediately or finish the row and repair in better light.
Will laddering up change my gauge?
It usually will not noticeably affect the size or fit of your project, especially if it is just one column. The repaired stitches can look slightly tighter or looser at first, but they tend to blend in after you redistribute slack and block, or after a little wear.